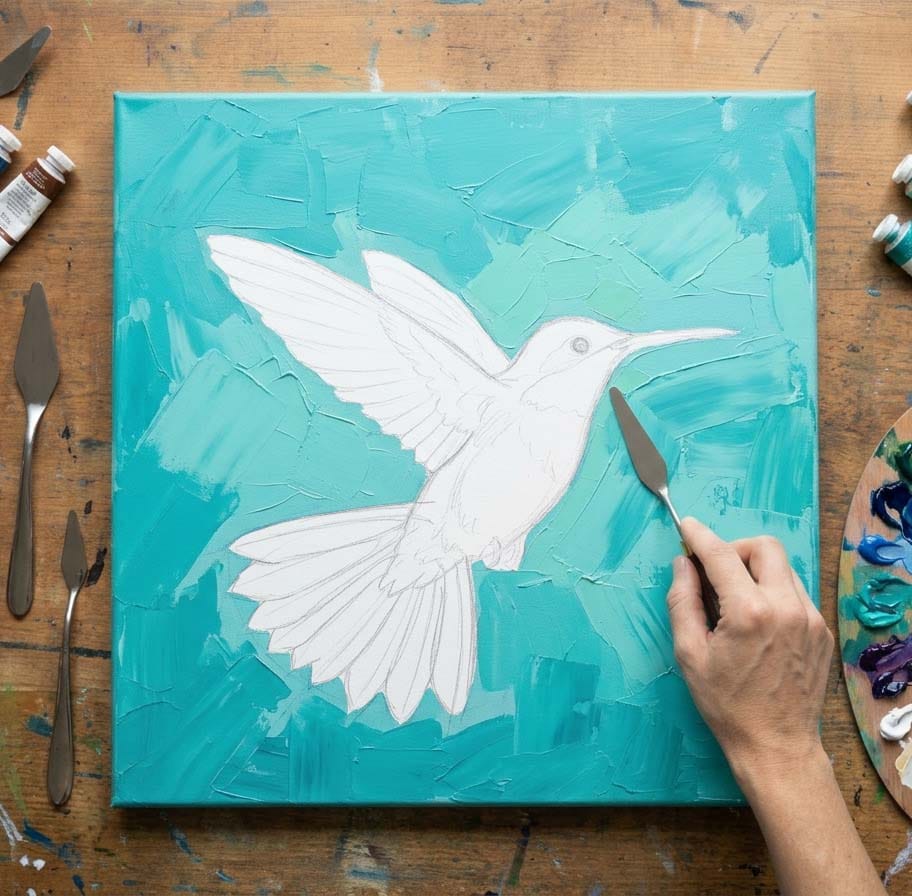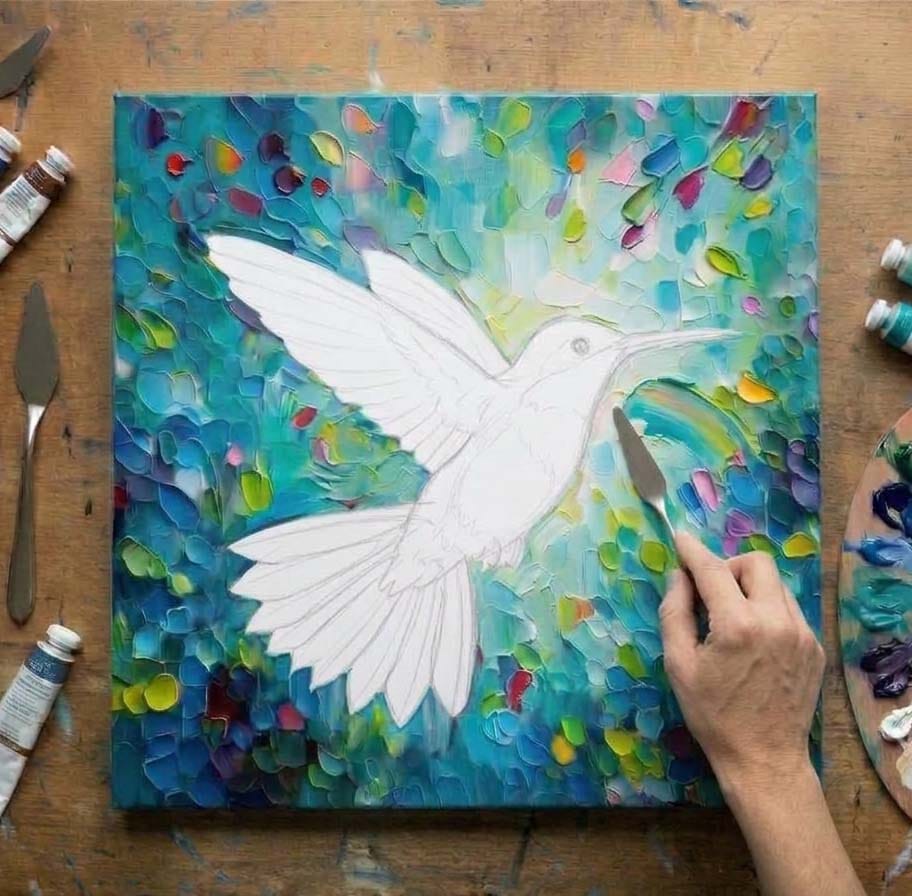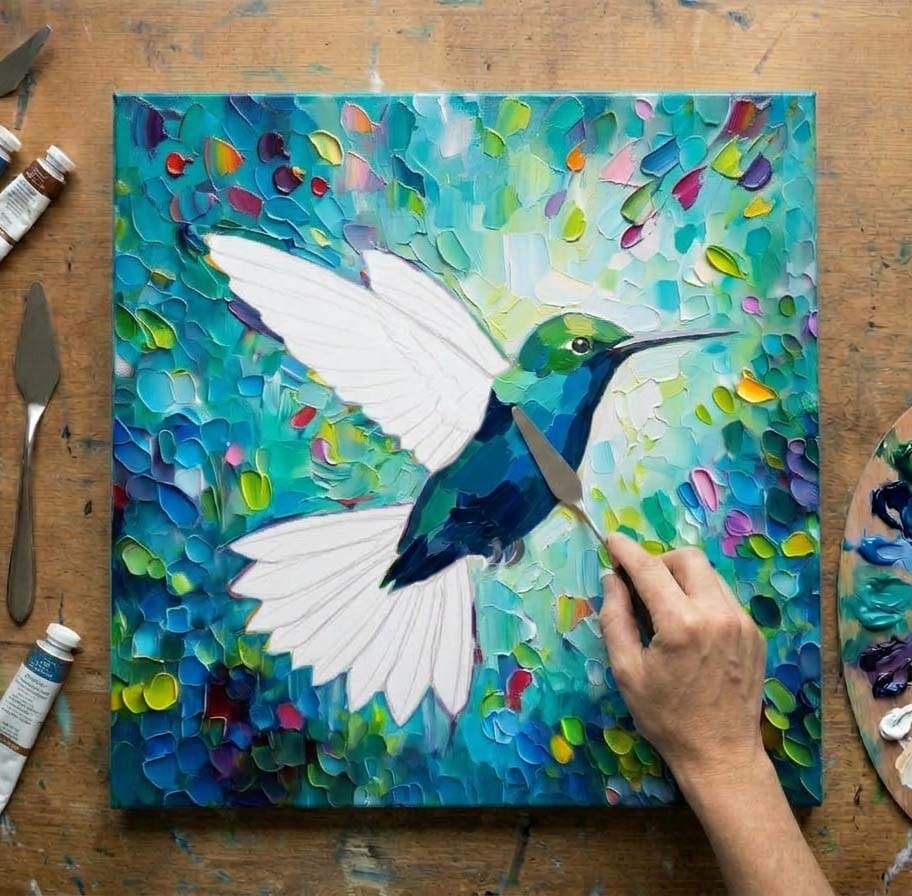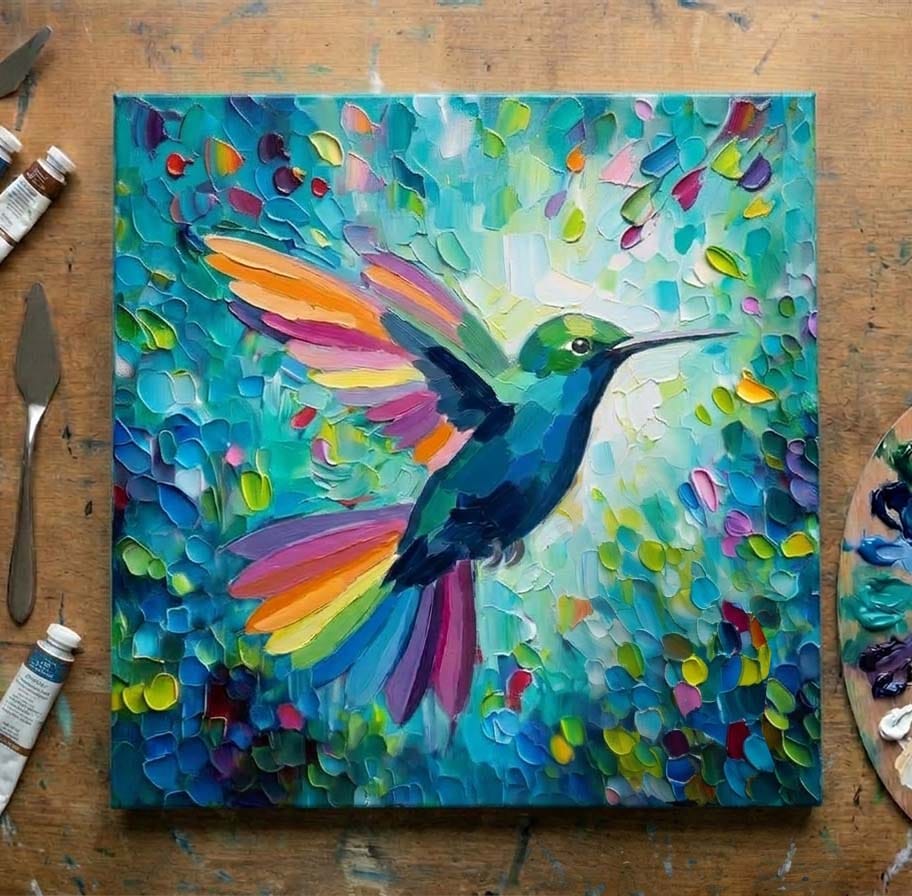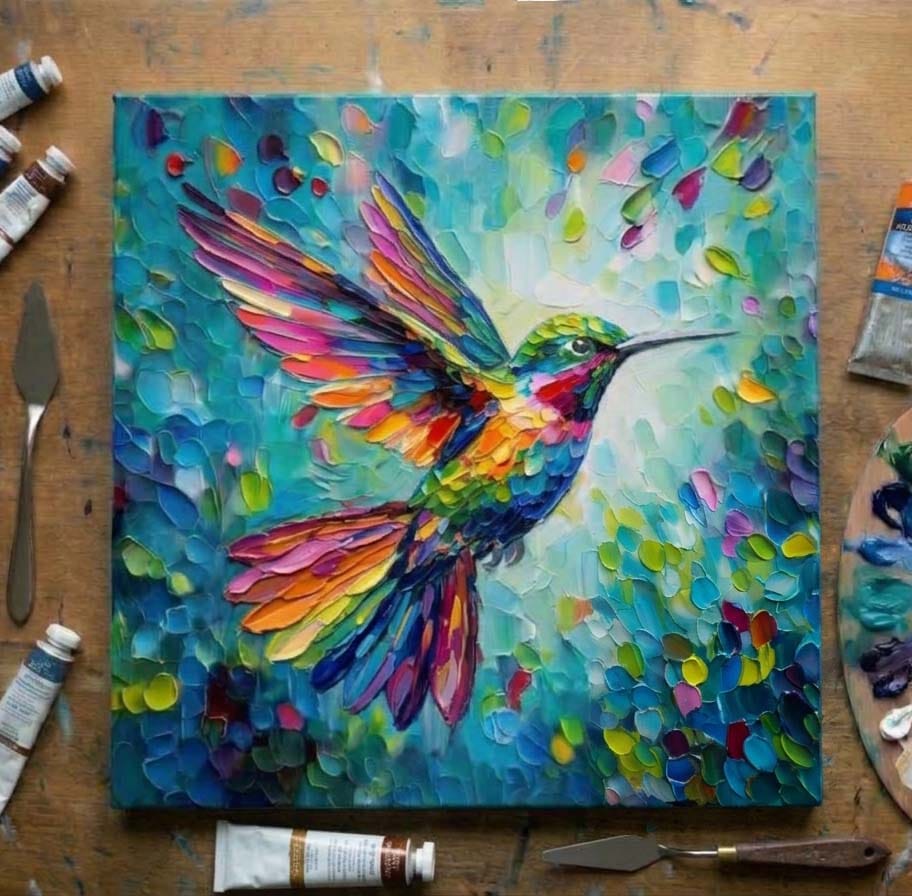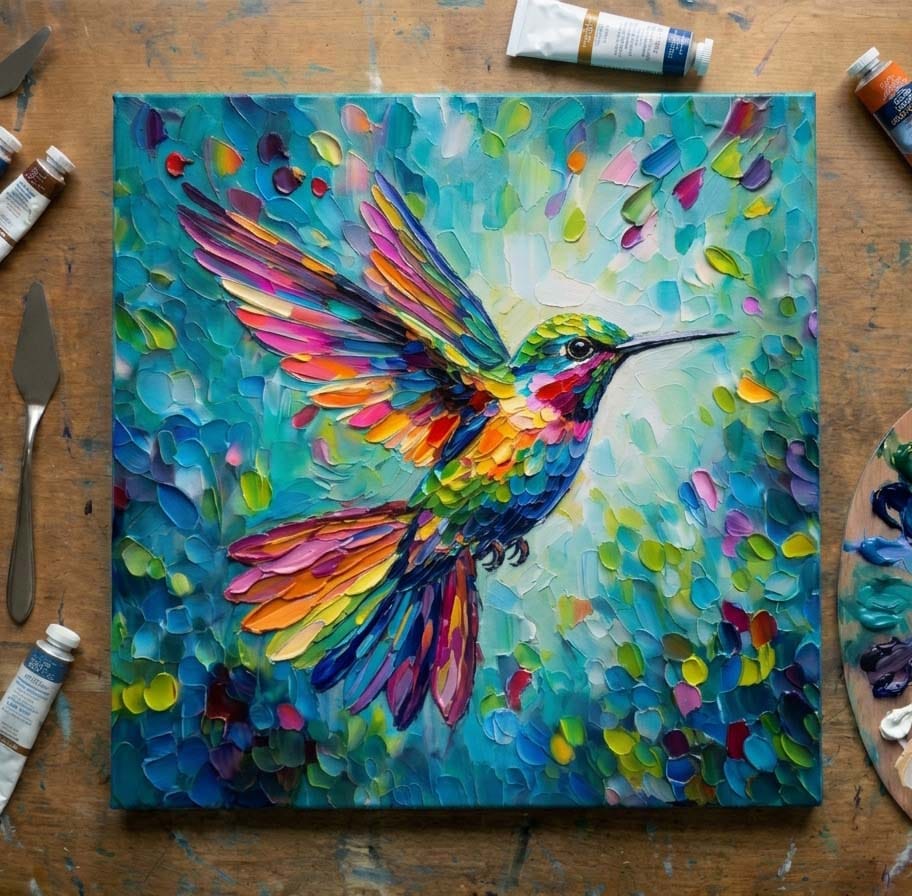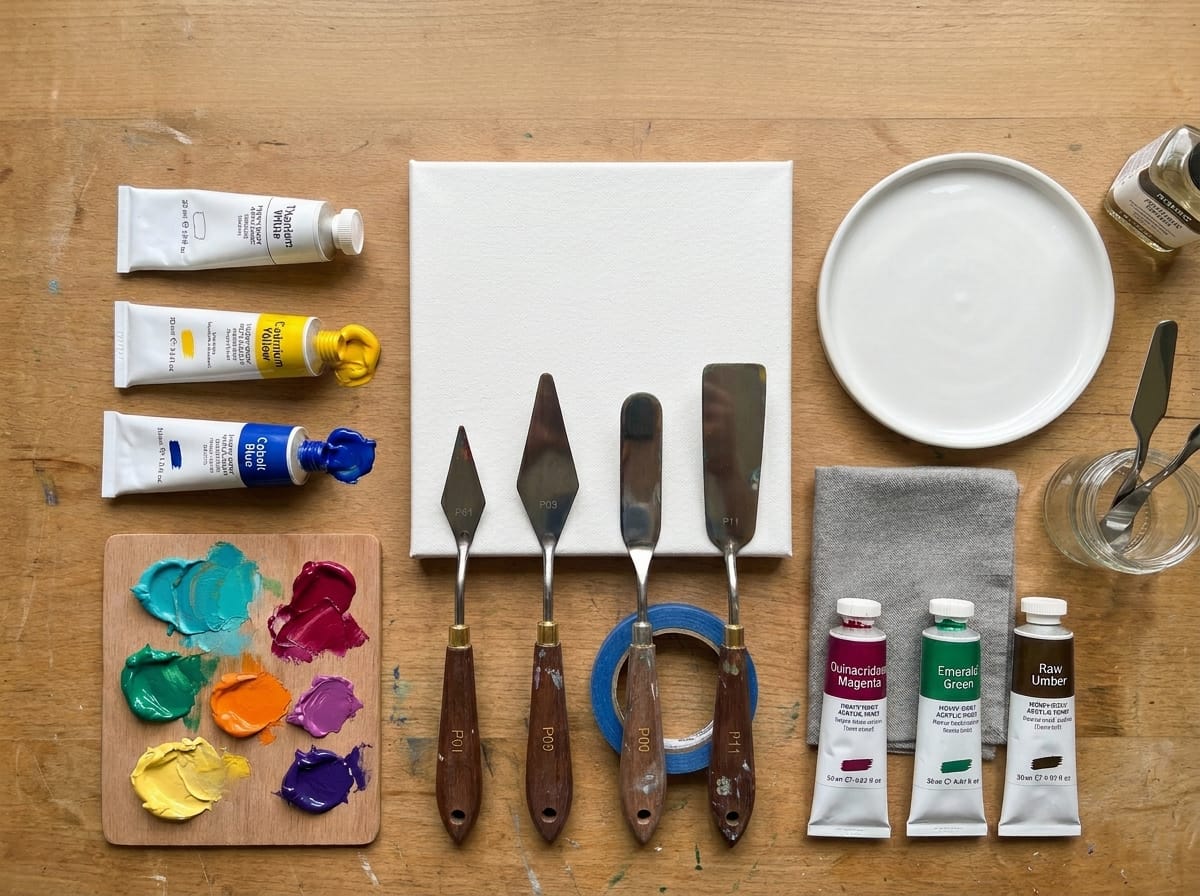
Paint bold, textured Hummingbird with the impasto technique

Even if you’ve never touched a canvas before.

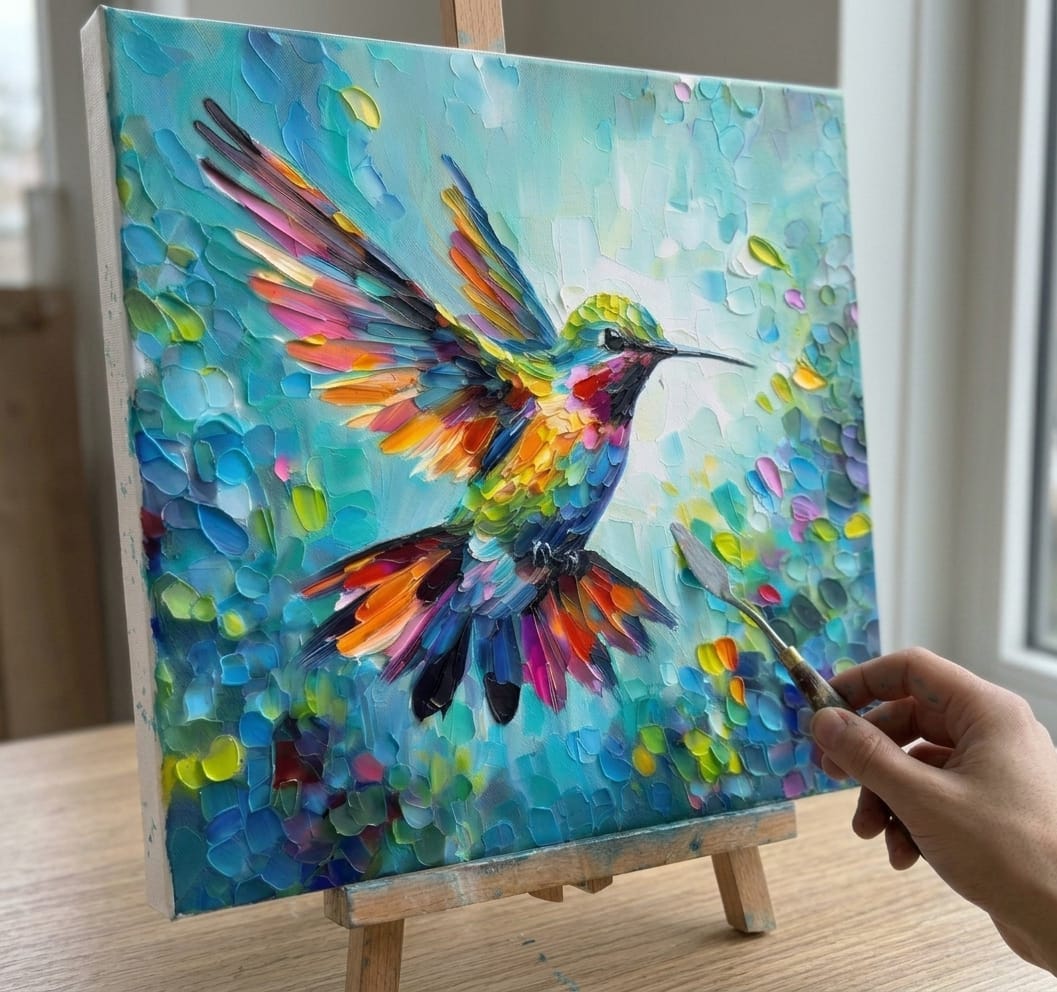
A bold, textured impasto hummingbird painting on a turquoise background

Imagine...

“Wow... I wish I could paint like that.”

So you sit down and try. You grab a spatula and start scraping.

It’s harder than it looks. The colors turn muddy. The strokes land flat. The bird looks more like a smudge than a hummingbird.

So you try YouTube.

The timelapses are beautiful, but they show what the artist does, not why, and not in what order.

You get lost halfway through.

Weeks go by. The canvas gets thicker and muddier.

And a quiet thought creeps in: “Maybe I just don’t have the talent for this.”

But what if...

It’s not that you lack talent.

It’s not that you need more practice.

The impasto painting technique is built up in layers.

Structure first. Big color shapes second. Texture third. Detail last.

Paint in that order and the colors stay clean and the strokes stack beautifully.

All you need is a canvas, a spatula, and a few tubes of paint.

And here I am. I’ll show you step by step.

One Hummingbird is just the beginning

The hummingbird you choose for your first painting is just the start.

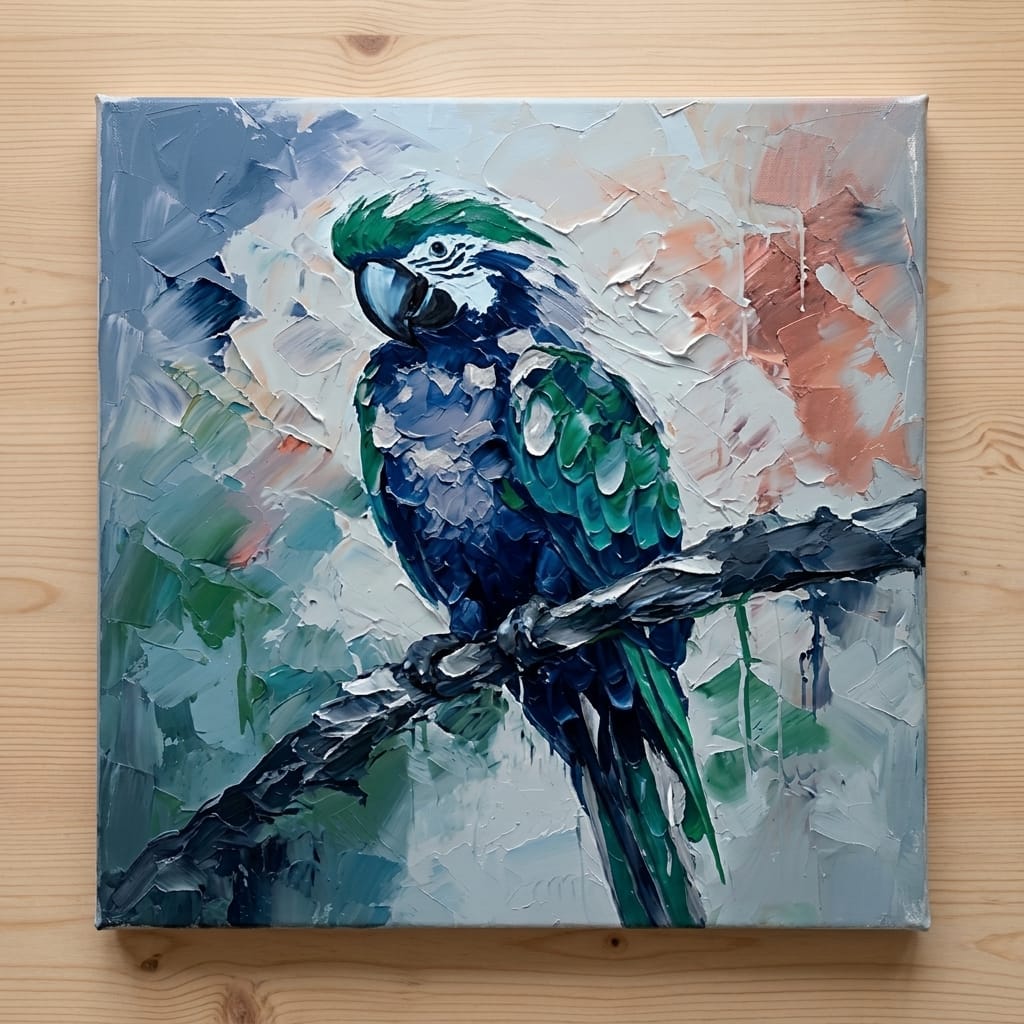
Once you’ve learned the impasto technique, you can turn almost any bird you love into a bold, textured work of art.

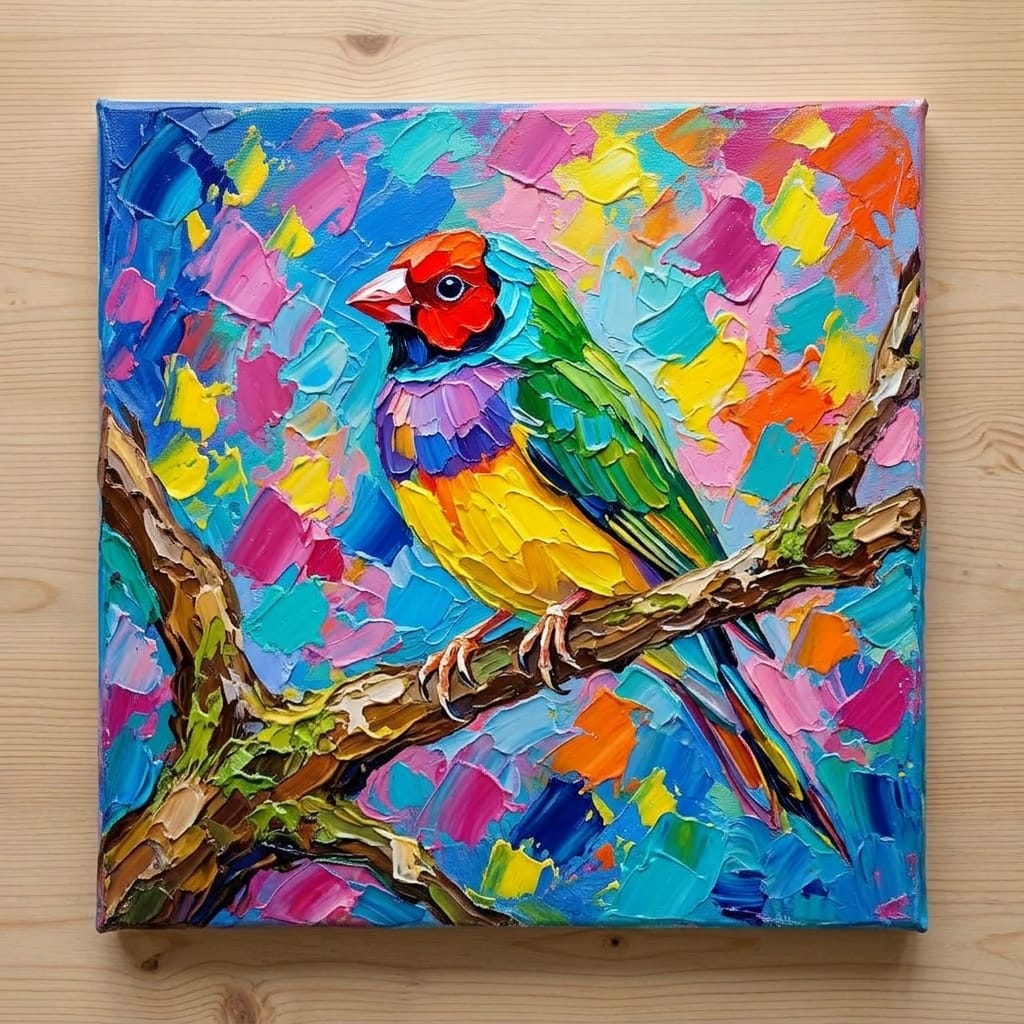
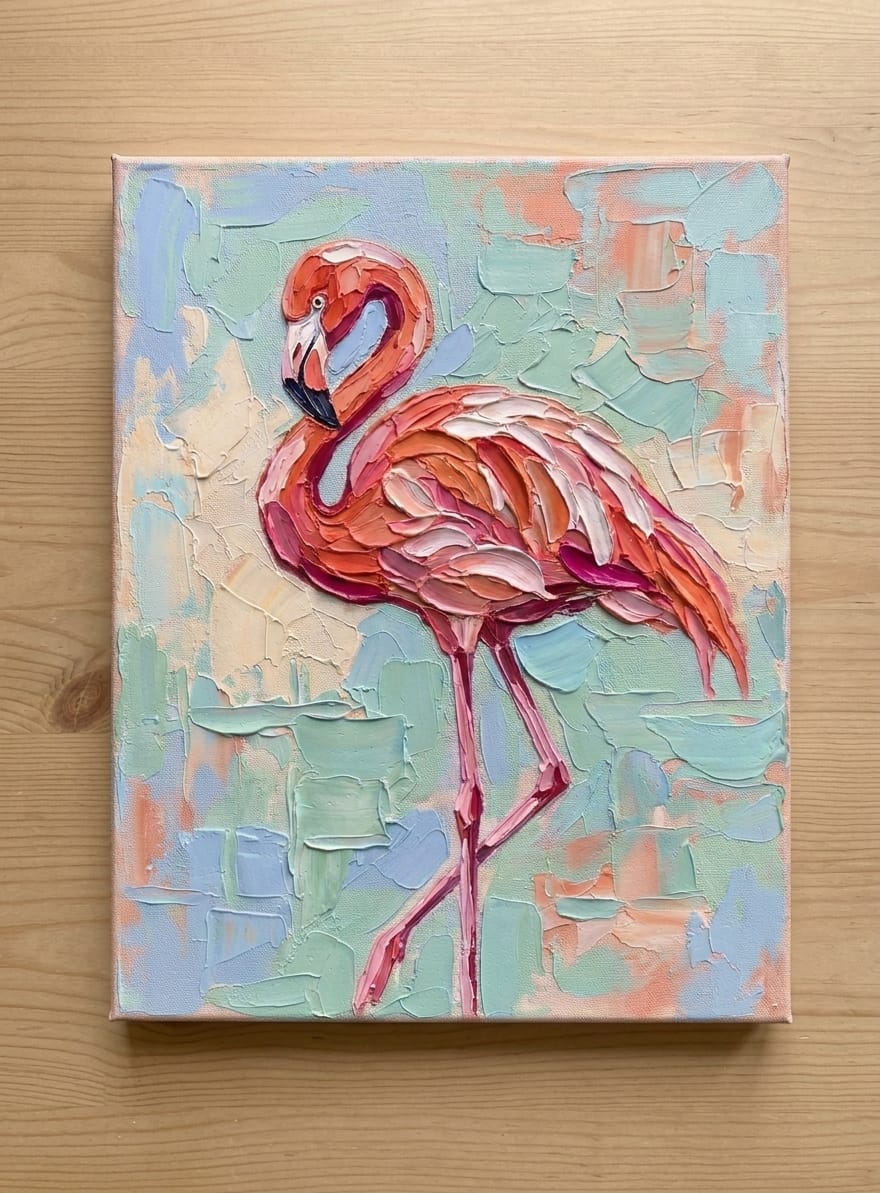
A bright parrot, a graceful flamingo, a proud rooster, or the little songbird that visits your garden every morning.

Every new bird is another chance to play with colors, strokes and your own creative ideas.

Introducing

Paint a vivid, textured hummingbird from a blank canvas to a finished piece.

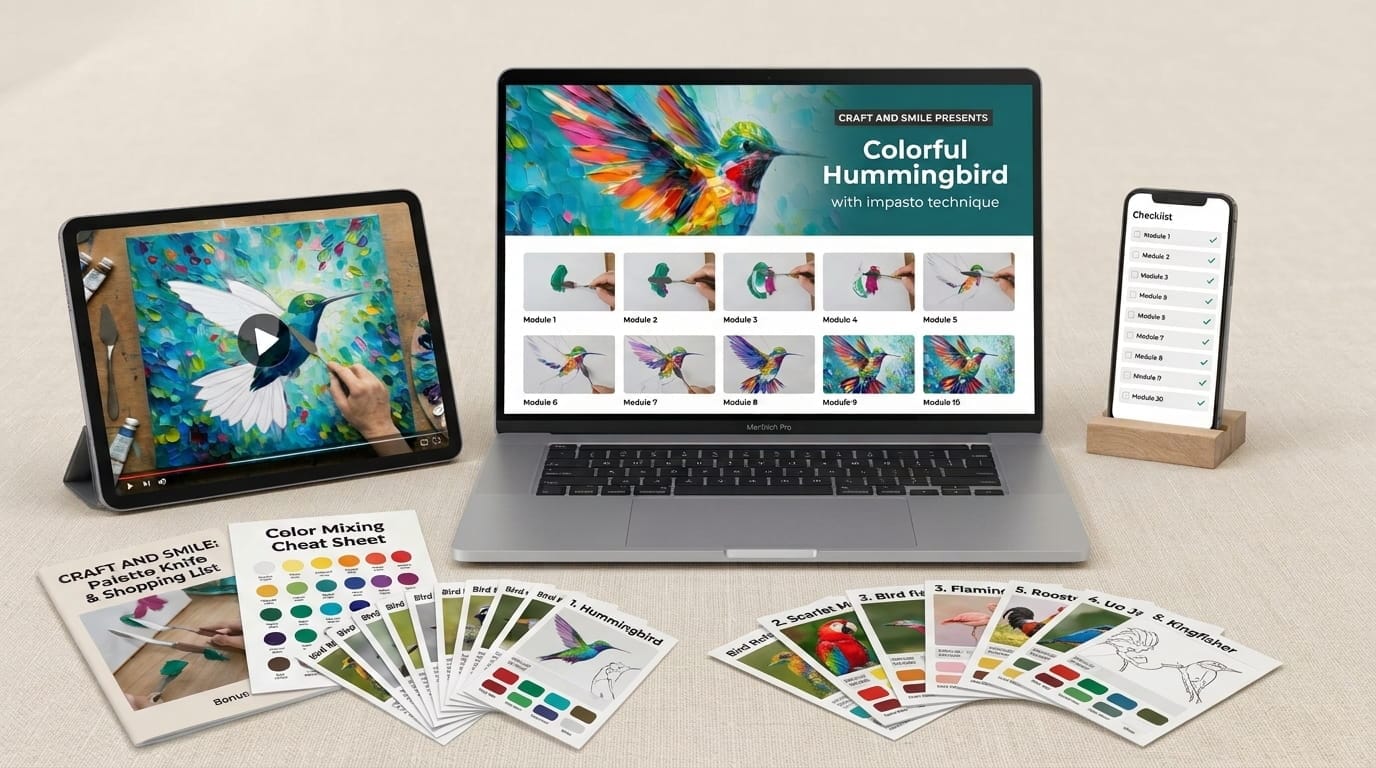
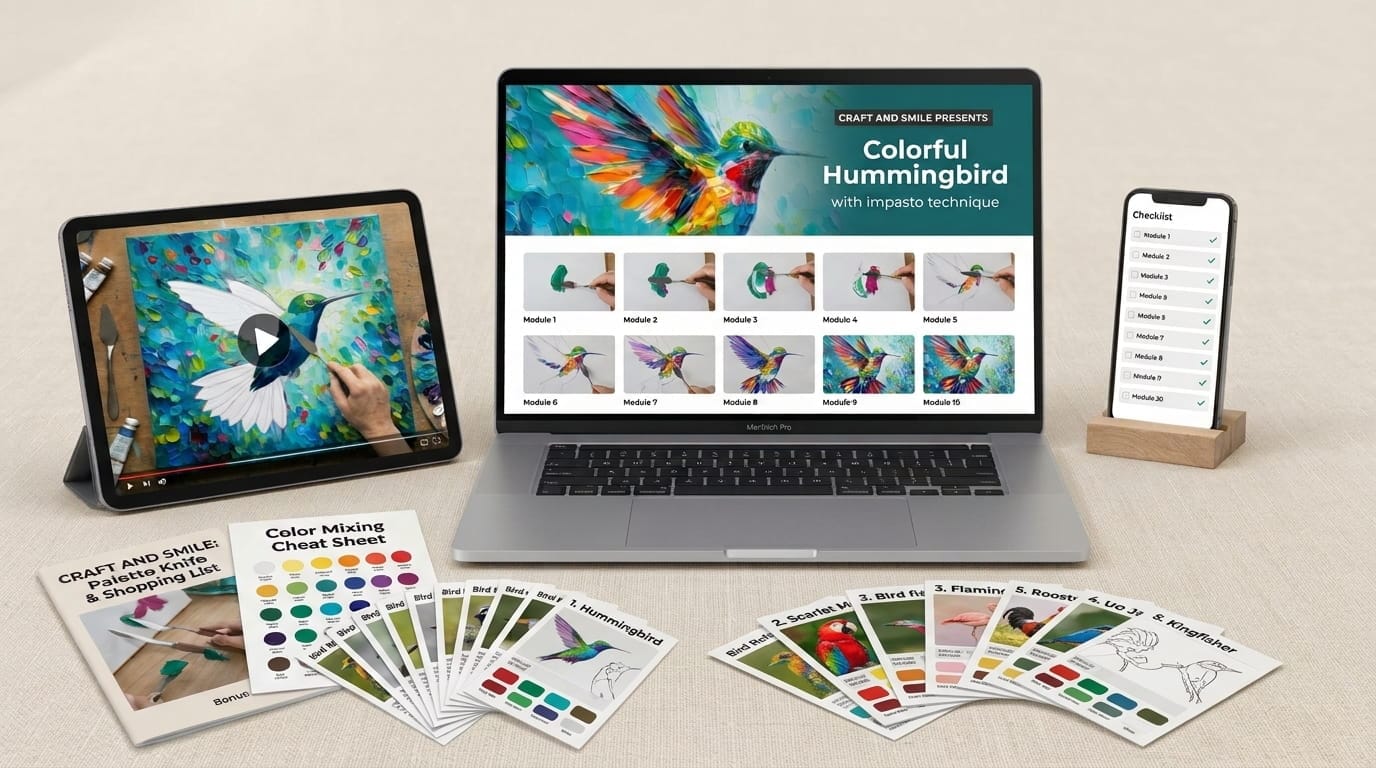
The course shown on a laptop, tablet and phone, with the three bonus guides

What you’ll learn, module by module

Module 1: spatula strokes practice

Module 1: Master the technique. Make Every Stroke With Confidence.

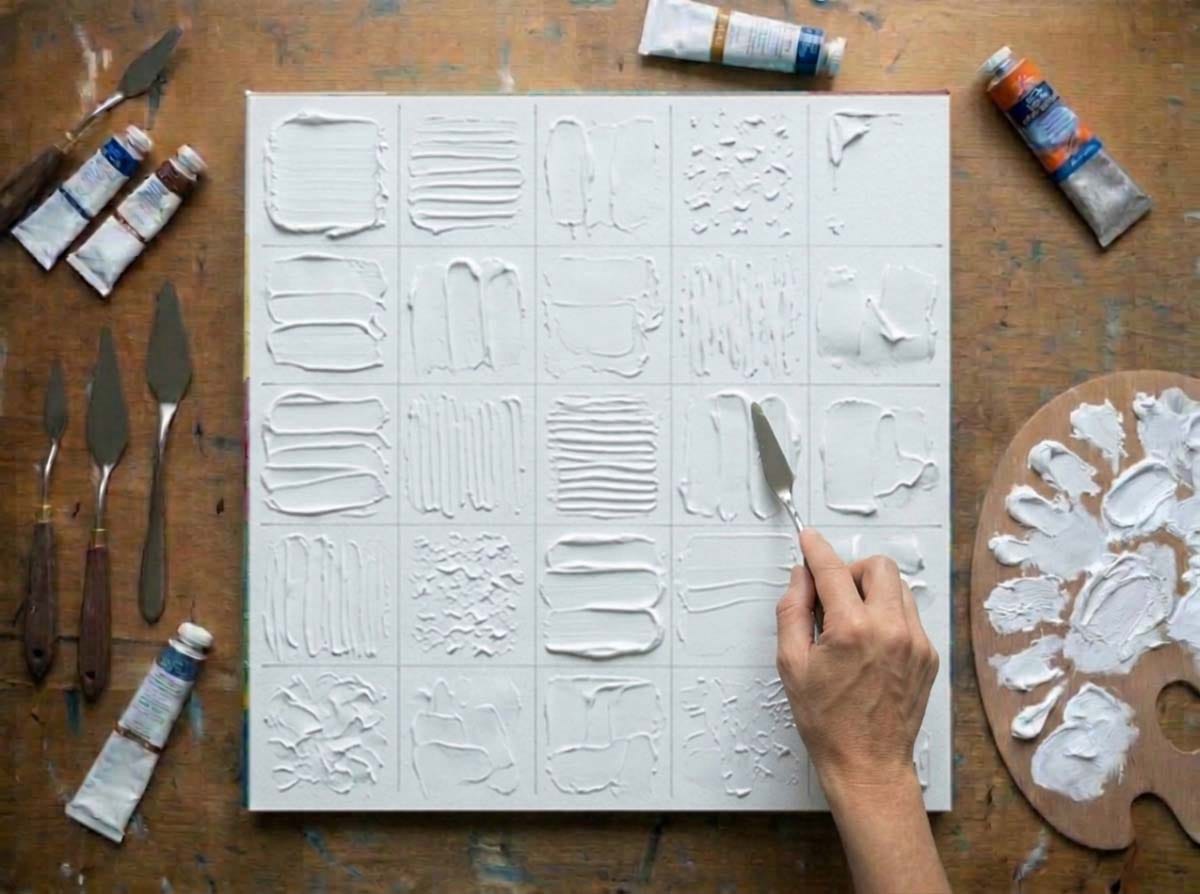
You’ll learn how to hold the spatula and make the handful of strokes every textured painting is built from, with no pressure and nothing to ruin. This is the most important module, because the whole style depends on it.

  • How to hold the spatula and control pressure for thick, clean strokes
  • Learn the four basic moves: spread, press, pull, and dab
  • You’ll use the edge of the blade to draw thin lines, like the beak and fine feather tips
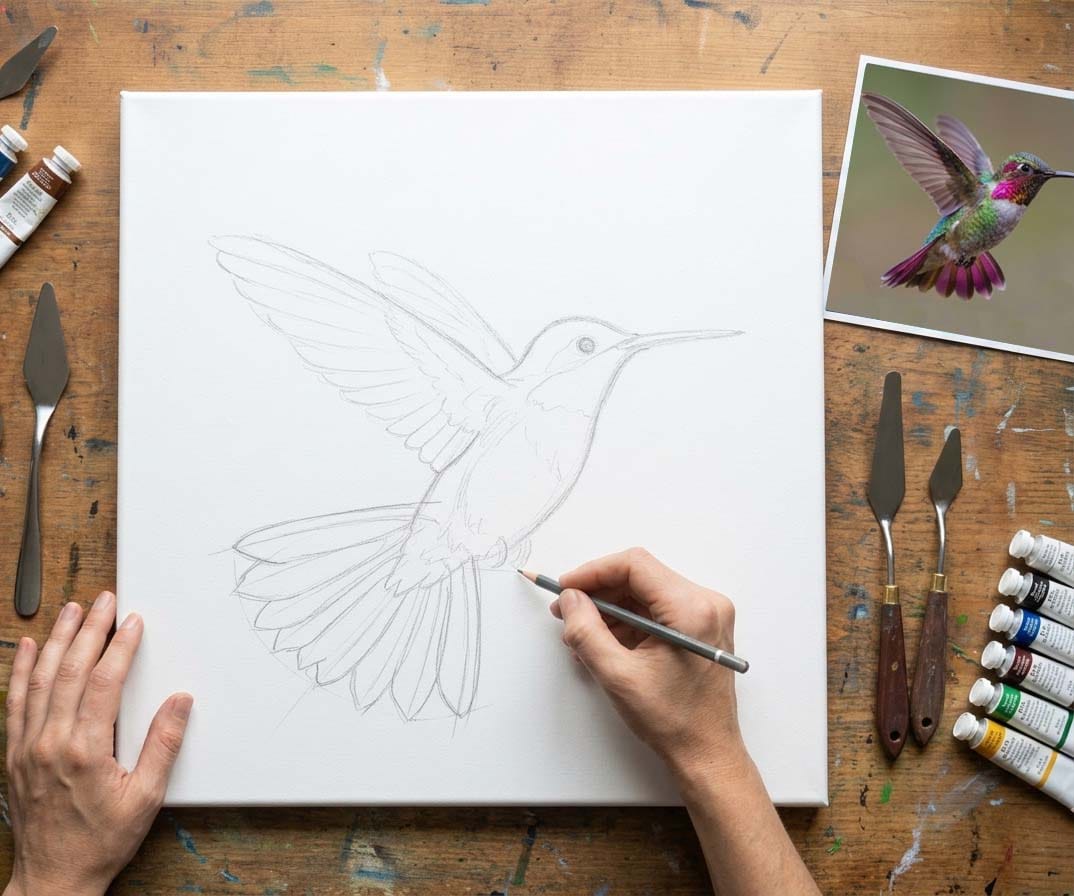
Module 2: the hummingbird drawn in simple shapes

Module 2: Draw the Bird Step by Step, Even If You’ve Never Held a Pencil Before.

You’ll break the hummingbird down into a few simple shapes and place it on your canvas in easy steps. By the end, you’ll have a clear map to paint over.

  • How to turn a complex bird into simple shapes anyone can draw
  • Discover where to place the bird so the composition feels balanced
  • You’ll sketch with thinned paint, so nothing fights the layers on top
  • The tracing paper option: skip the drawing completely and transfer the bird’s outline onto your canvas in minutes
Module 3: turquoise background base

Module 3: Background Base. Lay In the Foundation Colors.

You’ll set the mood of the whole painting by laying down the soft turquoise base around your bird. It’s quick, forgiving, and it makes everything that follows easier.

  • How to spread broad, flat strokes without streaks
  • Learn to mix a clean turquoise and aqua range from just a few tubes
  • You’ll paint around the bird’s outline with a steady hand
  • The light-to-dark layout that gives the background depth
Module 4: bold, colorful background finish

Module 4: Background Finish. Bring It Alive With Bold Color.

You’ll enhance the background with bold, vibrant colors and thick, petal-like strokes. This is where the painting starts to glow.

  • Discover how to layer small dabs that look like blossoms and leaves
  • How to place bright accents so the eye travels around the canvas
  • You’ll learn the warm and cool balance that makes colors pop without clashing
  • A simplified way to stop before the background steals attention from the bird
Module 5: body and head base

Module 5: Body and Head Base. Block In the Main Shapes.

You’ll paint the base of the body and head, plus a simple eye and beak, without worrying about detail. You’re building the solid foundation that the feathers will sit on.

  • How to block in the body with light, mid, and dark tones
  • Learn to place the head, eye, and beak in the right position
  • You’ll keep it loose and simple, so details come later
  • The shape-first approach that keeps the bird looking solid and balanced
Module 6: wings and tail base

Module 6: Wings and Tail Base. Block In the Big Shapes.

You’ll paint the base colors of both wings and the tail, so the whole bird is finally in place. It’s a big step, and it only takes a few confident strokes.

  • How to paint the wing shapes with long, sweeping pulls
  • Discover how to keep the colors separate while the paint is still wet
  • You’ll build the fan tail in clear, simple sections
Module 7: feather details

Module 7: Feather Details. Paint the Body, Tail, and Wings.

You’ll bring the whole bird to life with layered feather strokes, working from the body to the tail to the wings. This is where the plumage starts to shimmer and the painting becomes truly eye-catching.

  • Layering small strokes on the body and head to create overlapping feathers and a glittering green crown
  • Learn to pull long feather strokes from base to tip to turn the flat tail into a fan of distinct feathers
  • You’ll stack wing feathers from short to long, keeping both wings matching without copying stroke for stroke
  • The loaded-edge technique that adds sharp highlights to feather tips
  • Discover how to stop at the right moment, before the paint gets overworked
Module 8: final details, eyes, beak and feet

Module 8: Final Details. Eyes, Beak, Feet, and Touch-Ups.

Final touch with a single bright eye and a clean, sharp beak are what make people feel the bird is real.

  • How to paint a bright, lifelike eye with a tiny highlight
  • Learn to pull a razor-thin beak with the edge of the spatula
  • You’ll add the small feet with just a few precise touches
  • The fix-it toolkit: how to correct a stroke you don’t like without ruining the layers underneath

Why you’ll be paying less for this course

The full price of the course is $97.

But this is a beta launch. I’m limiting the number of spots on purpose, so I can make sure every student gets a real result and I can hear what’s working.

If it works, the price goes up. If it doesn’t, this page comes down.

Either way, this price won’t last.

So for now, you can get the whole course for just $47.

Normally $97

Now only

$47

One time payment · Lifetime access

Unlock Lifetime Access Now
Accepted cards: Visa, Mastercard, American Express, Discover 🔒 Secure payment
Get instant access and make your first spatula stroke today.

Plus You’ll Be Backed By My Unconditional Money Back Guarantee

30-day money-back guarantee badge

You don’t have to decide right now.

Get access and try it for 30 full days. If it’s not for you, ask for a refund and you’ll get every penny back within 72 hours.

No questions asked.

“You either love what you create... or you don’t pay for it.”

Get 3 FREE bonuses if you join today

And to help you go even further...

I want to make sure you actually start, and keep going. So I’ve included a few extra resources to take the guesswork out of every step.

The Impasto Shopping Guide
🎁 Bonus #1

The Impasto Shopping Guide

Standing in the art store aisle, not knowing which spatula or paint to buy, is a quiet way to quit before you start.

This guide tells you exactly what to get and what to skip.

  • Exact spatula shapes and sizes that work best for texture
  • Which paints give thick, buttery strokes (and which go flat)
  • Discover the budget starter kit versus the “worth the upgrade” kit

Value: $17 → Your price: FREE

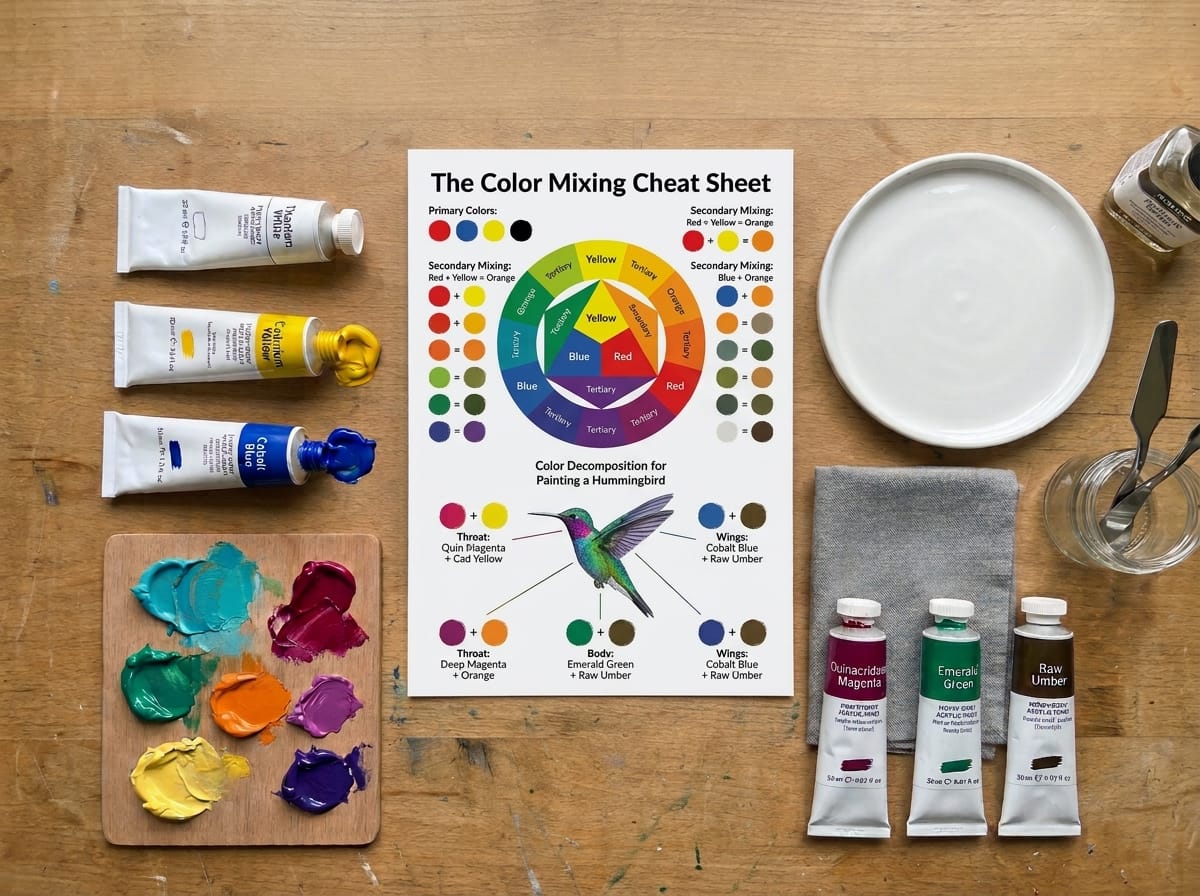
The Color Mixing Cheat Sheet
🎁 Bonus #2

The Color Mixing Cheat Sheet

Muddy colors ruin more paintings than bad technique. This one-page reference gives you quick recipes so you reach for the right mix every time.

  • The mixing recipes for every shade used in the hummingbird
  • How to brighten, soften, or deepen any color in seconds
  • The “never mix these” list that saves you from mud
  • A pocket-size layout you can keep beside your canvas

Value: $17 → Your price: FREE

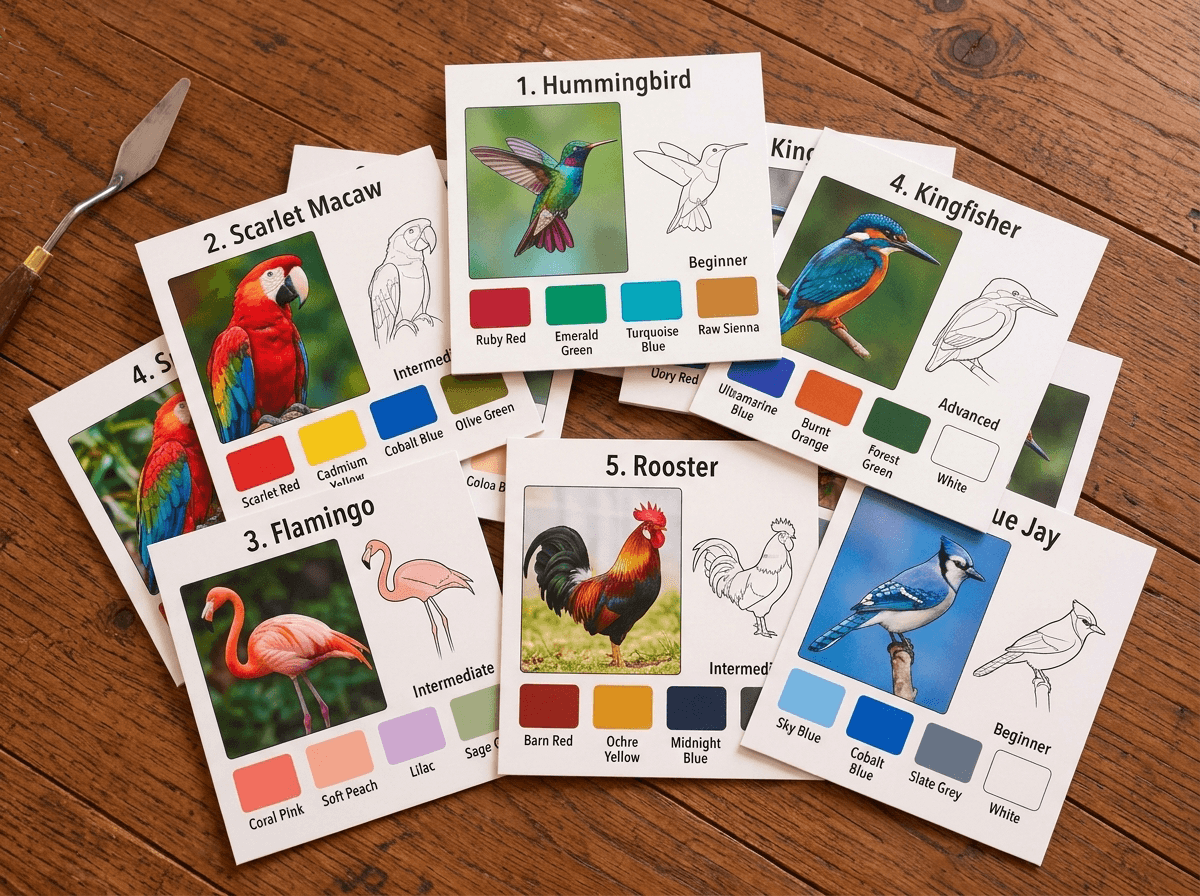
The Bird Reference Pack
🎁 Bonus #3

The Bird Reference Pack. 10 Birds Ready to Paint

Choosing what to paint next is where many beginners stall. This pack gives you ten colorful birds, each already broken down into simple shapes and a ready-made palette, so you can start your next painting the same day you finish your hummingbird.

  • Ten bird reference cards, from parrots to flamingos to kingfishers
  • Discover the simple shape breakdown for each bird, so the sketch step takes minutes
  • You’ll get a suggested color palette for every bird, matched to the Color Mixing Cheat Sheet
  • The difficulty rating on each card, so you can build up from easy to bold

Value: $17 → Your price: FREE

Everything you’re getting

The full course bundle on laptop, tablet and phone

Colorful Hummingbird with impasto technique (Value: $97)

  • Module 1: Master the Spatula. Make Every Stroke With Confidence
  • Module 2: The Hummingbird in Simple Shapes. Draw the Bird Step by Step
  • Module 3: Background Base. Lay In the Foundation Colors
  • Module 4: Background Finish. Bring It Alive With Bold Colors
  • Module 5: Body and Head Base. Block In the Main Shapes
  • Module 6: Wings and Tail Base. Block In the Big Shapes
  • Module 7: Feather Details. Paint the Body, Tail, and Wings
  • Module 8: Final Details. Eyes, Beak, Feet, and Touch-Ups

Plus these bonuses (Value: $51)

  • 🎁 Bonus #1: The Impasto Shopping Guide (value: $17)
  • 🎁 Bonus #2: The Color Mixing Cheat Sheet (value: $17)
  • 🎁 Bonus #3: The Bird Reference Pack. 10 Birds Ready to Paint (value: $17)
Normally $148

Now only

$47

One time payment · Lifetime access

Unlock Lifetime Access Now
Accepted cards: Visa, Mastercard, American Express, Discover 🔒 Secure payment
Get instant access and make your first spatula stroke today.

Got more questions?

Do I need any painting experience?

None at all. The course starts with how to hold the spatula. If you can spread butter on toast, you can do this.

Do I need any drawing experience?

None at all. In Module 2, we draw the hummingbird in a few simple shapes, step by step. And if you’d rather skip drawing completely, there’s an option to use tracing paper: you transfer the outline onto your canvas, and you’re ready to paint in minutes.

How much time does it take?

Most students finish the full painting in a few relaxed sessions. Each module is short, and you can pause anytime and pick up where you left off.

What materials do I need?

A canvas, a spatula, a handful of paint tubes, and a surface to mix on. Bonus #1 lists exact recommendations so you don’t have to guess.

How long do I have access?

Forever. Lifetime access, including any updates I add later.

Is there a refund policy?

You have 30 full days. If it’s not for you, you’ll get a full refund within 72 hours. No questions asked.

Is this a one-time payment?

Yes. Pay once, keep it forever. No subscriptions and no hidden fees.

Should I use acrylic or oil paint?

Either works. If you’re a beginner, I recommend heavy-body acrylics: they dry fast, clean up easily, and hold thick texture beautifully. The course explains both approaches.